
These are some key checks to carry out when checking the operation of seed drill control boxes. These checks are very often the answer to many of the faults found on drills.
Manuals & Instructions
Always read the manual when working on a drill. This can save error when trialing the controls and also it improves your knowledge of the drill for next time.
Voltage/Amps
Check that the control box or drill sensors are receiving 12 Volts. Vaderstad Control Stations and Ag-tron boxes are very susceptible to low voltage and will not work properly. Sometimes it’s best to wire straight off the tractor battery. Also Stocks and KRM air seeders need a good amp supply to get the fans going so they should be wired off the tractor battery.
Polarity
Check that the polarity is correct from the power source. Always check the 3 pin plug as this is a common area where the positive and negative can get swapped round. Note: If this is done on a Vaderstad Control Station it can damage it.
Control Box Settings
Always check the settings on the control box. This is a common reason for the controls not working. Is the sensor turned off? Is the control box recognising the right drill model and size? Is the tramlining on asymmetrical and not symmetrical. This will make the tramlines work differently! A lot of time can be saved by checking the control box settings.
Fuses
Always check for fuses if the controls won’t power up. The older Vaderstad black control boxes and newer Control Stations have a re-set fuse which can trip out quite easily.
Connections & Cables
Always check plugs and sockets for damage, loose wires and bent pins. Run your fingers down the pins as they may appear OK but push in when the connection is made. It’s very common for a spade connection in a 3 pin plug to come off if they’re not soldered on. Also badly corroded plugs and sockets can lose connection. Look for repairs, cuts, squashed or badly bent cables. Sometimes the wires can come loose in the connection boxes causing shorts etc. Sometimes a dose of contact spray can solve a lot of problems!

Delays
It’s worth remembering that some drill controls have a delay on the bout sensors which can stop the bout moving on if the switch is operated too quickly (especially on toggle switches)
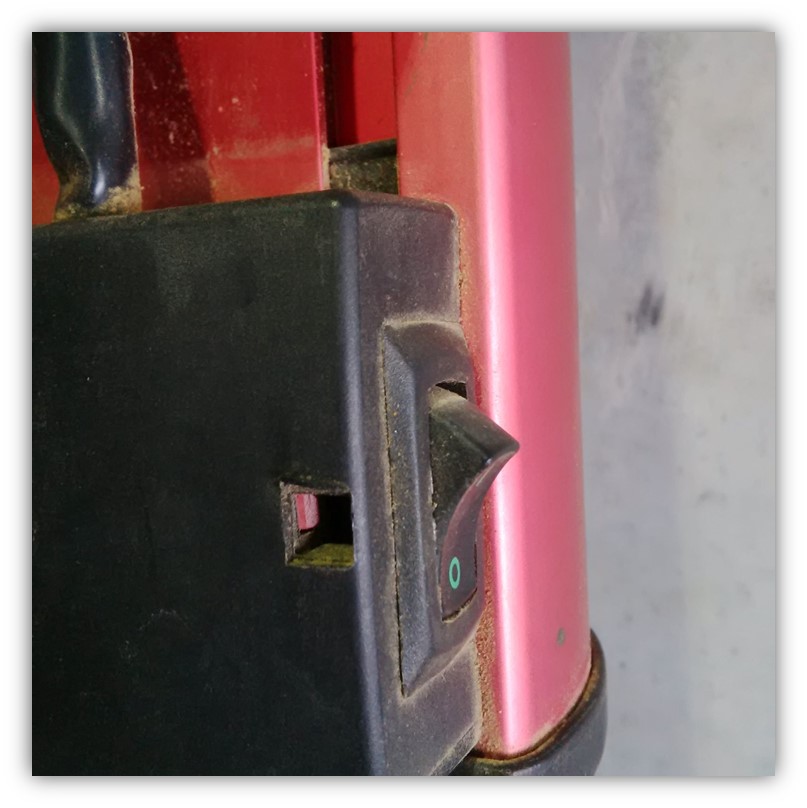
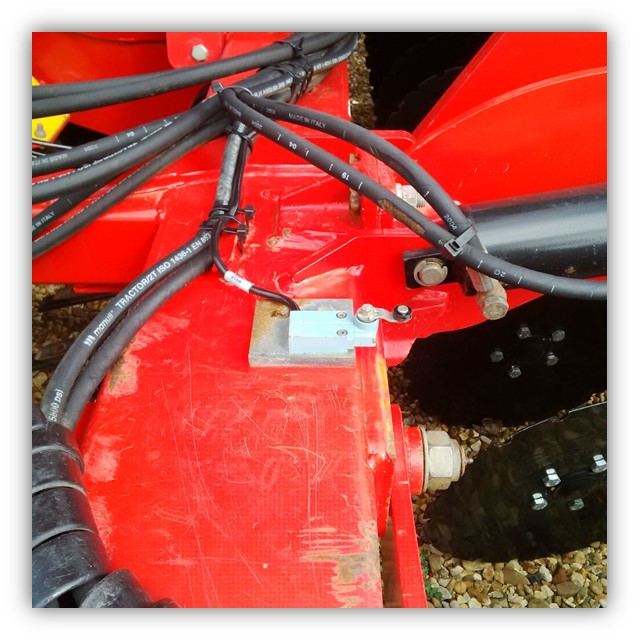
Sensors
Check the sensors for damage. Some control boxes such as the Hector 3000, Ag-tron and Muller have a mode which checks all the sensors for you which can save a lot of time. A very common problem on Vaderstad drills is the work switch. If this isn’t working it will affect the whole operation of the drill. Most sensors have an LED on the end which is either on all the time or when activated. A lot of hopper sensors work by moisture, so you have to use your hand to make them work.
Some drills use electronic solenoids to stop and start mechanisms. These can often be seized and need freeing up with some WD40. This also applies to the tramlining mag-valves. If you unscrew the little plate off the side you can get them going in there.
Make sure that the magnet or metal spike that the sensor registers isn’t missing or set too far away. This is common on Accord fan sensors as the metal spike can slide down the shaft away from the sensor. Some sensors need to be within 2mm of the spike!
Other
It’s also worth remembering that hydraulics can also create problems. Change over valves often get seized or worn which affects the bout marker operation. Worn male ends or air in the hydraulic system can cause malfunction. Hydraulic hoses can cause problems with a lot of farm machinery, read our post on caring for hydraulic hoses here.